
You’ll need an account at app.vendexlabs.com. If your organization already uses VendexLabs, ask an owner or admin to invite you. See Organizations & members.
Add your vendors
From the Vendors page, choose Manage vendors to open the vendor catalog, or Import Vendors to bring in a whole list from a CSV.Search the catalog and select the vendors you work with, or add a custom vendor by entering its website. VendexLabs recognizes known vendors instantly and queues unknown ones for enrichment.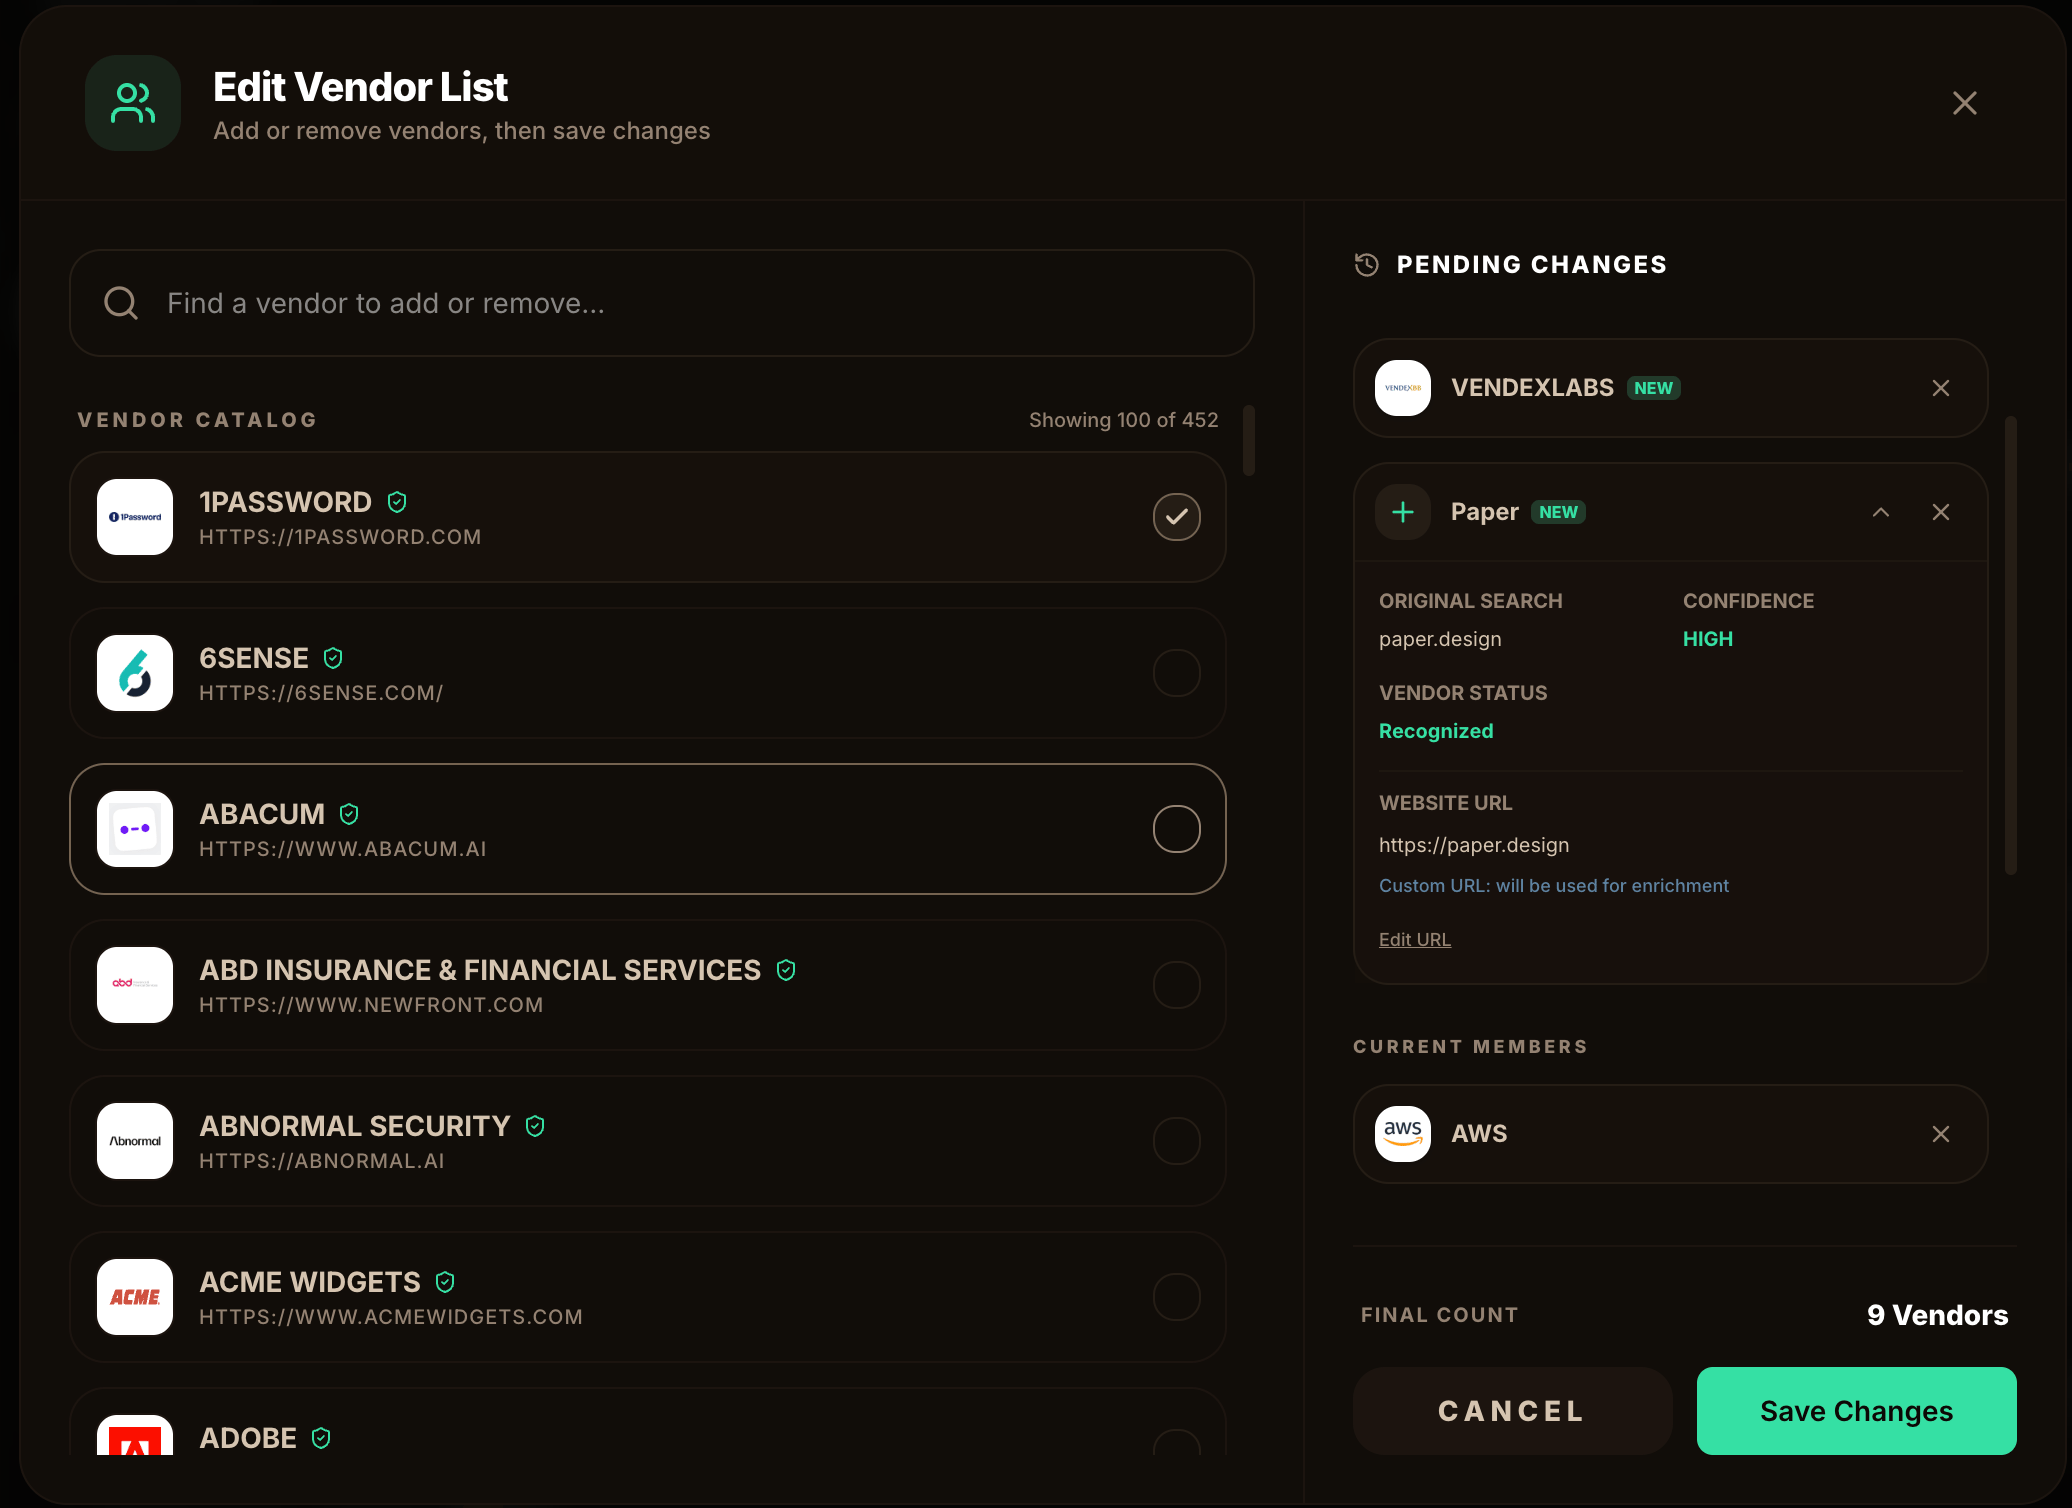
Set each vendor's dependency tier
A vendor’s dependency tier describes how critical it is to your operations — how much you’d feel it if the vendor failed or was breached. Tiers weight each vendor’s contribution to your overall portfolio posture.Set the tier from the vendor row or the vendor’s detail page. See Dependency tiers for how to choose.
Review the risk posture
Open a vendor and go to GRC Posture to see the aggregate score (0–100), the breakdown across five trust domains, the integration depth, and a recommendation.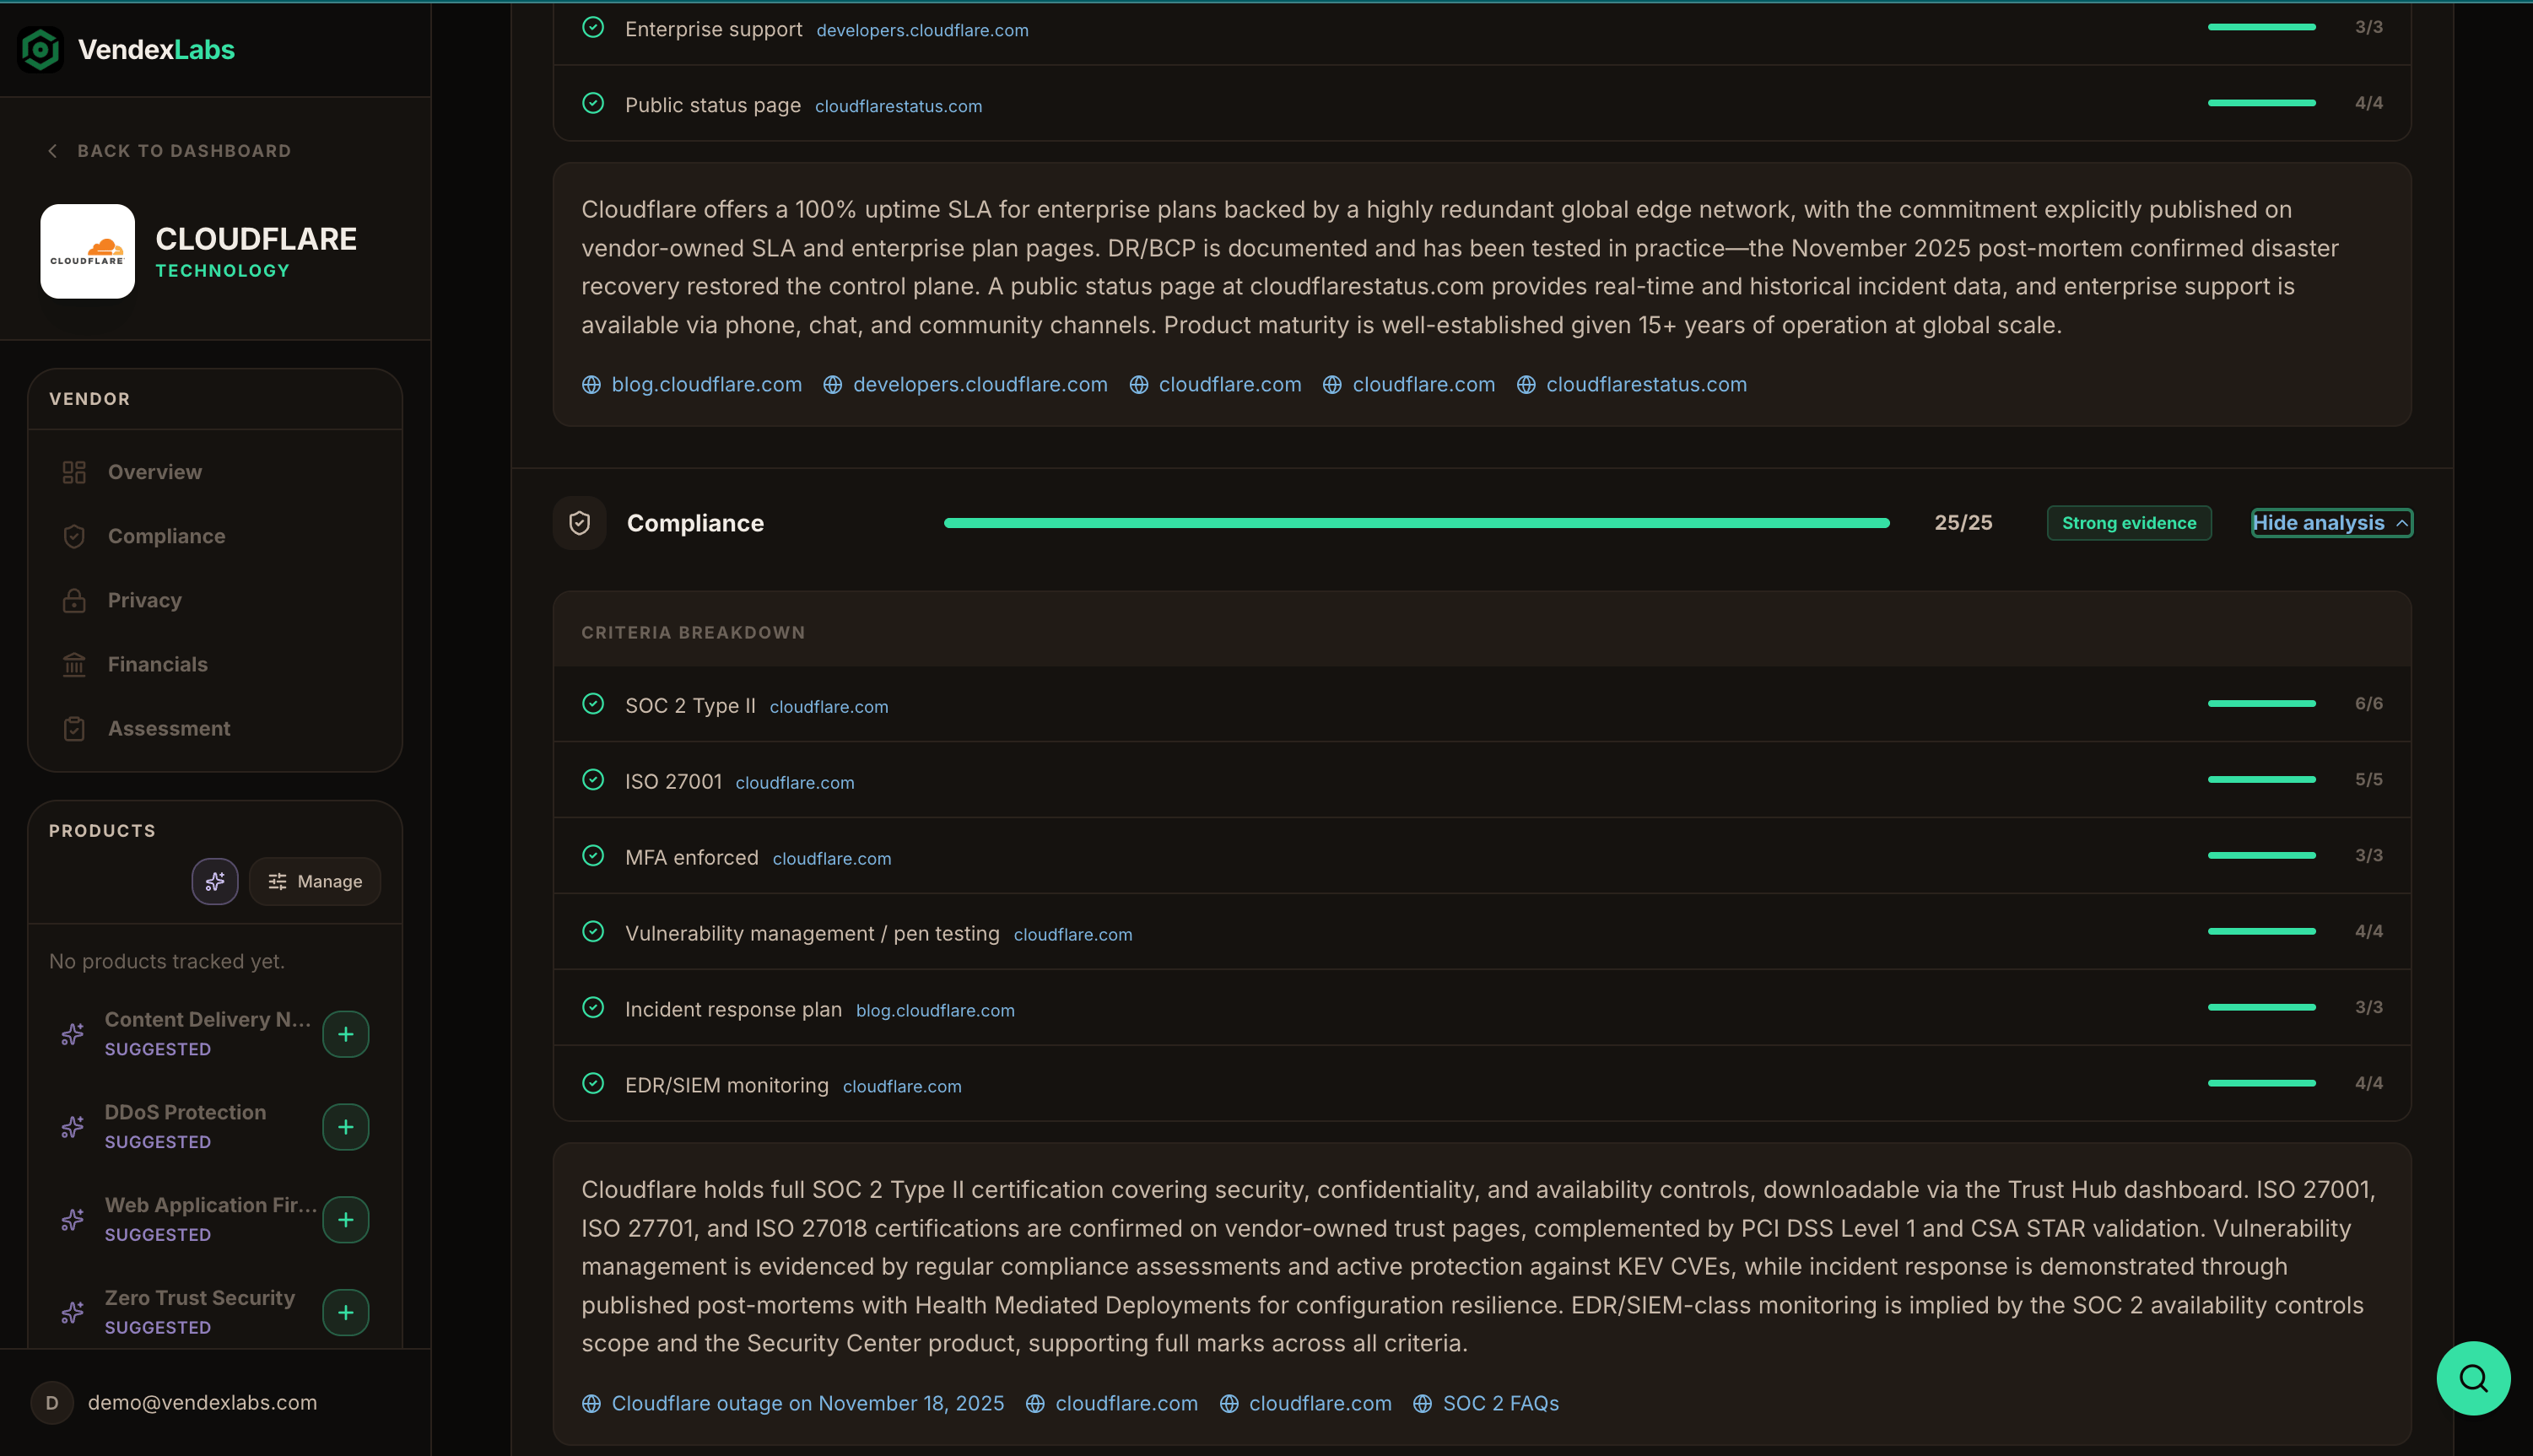
Run an assessment and record a decision
Go to Assessments, open the vendor, and choose Edit. Fill in the business context (department, sponsor, use case), the data the vendor collects, and any compliance notes. Then set an approval status — for example, 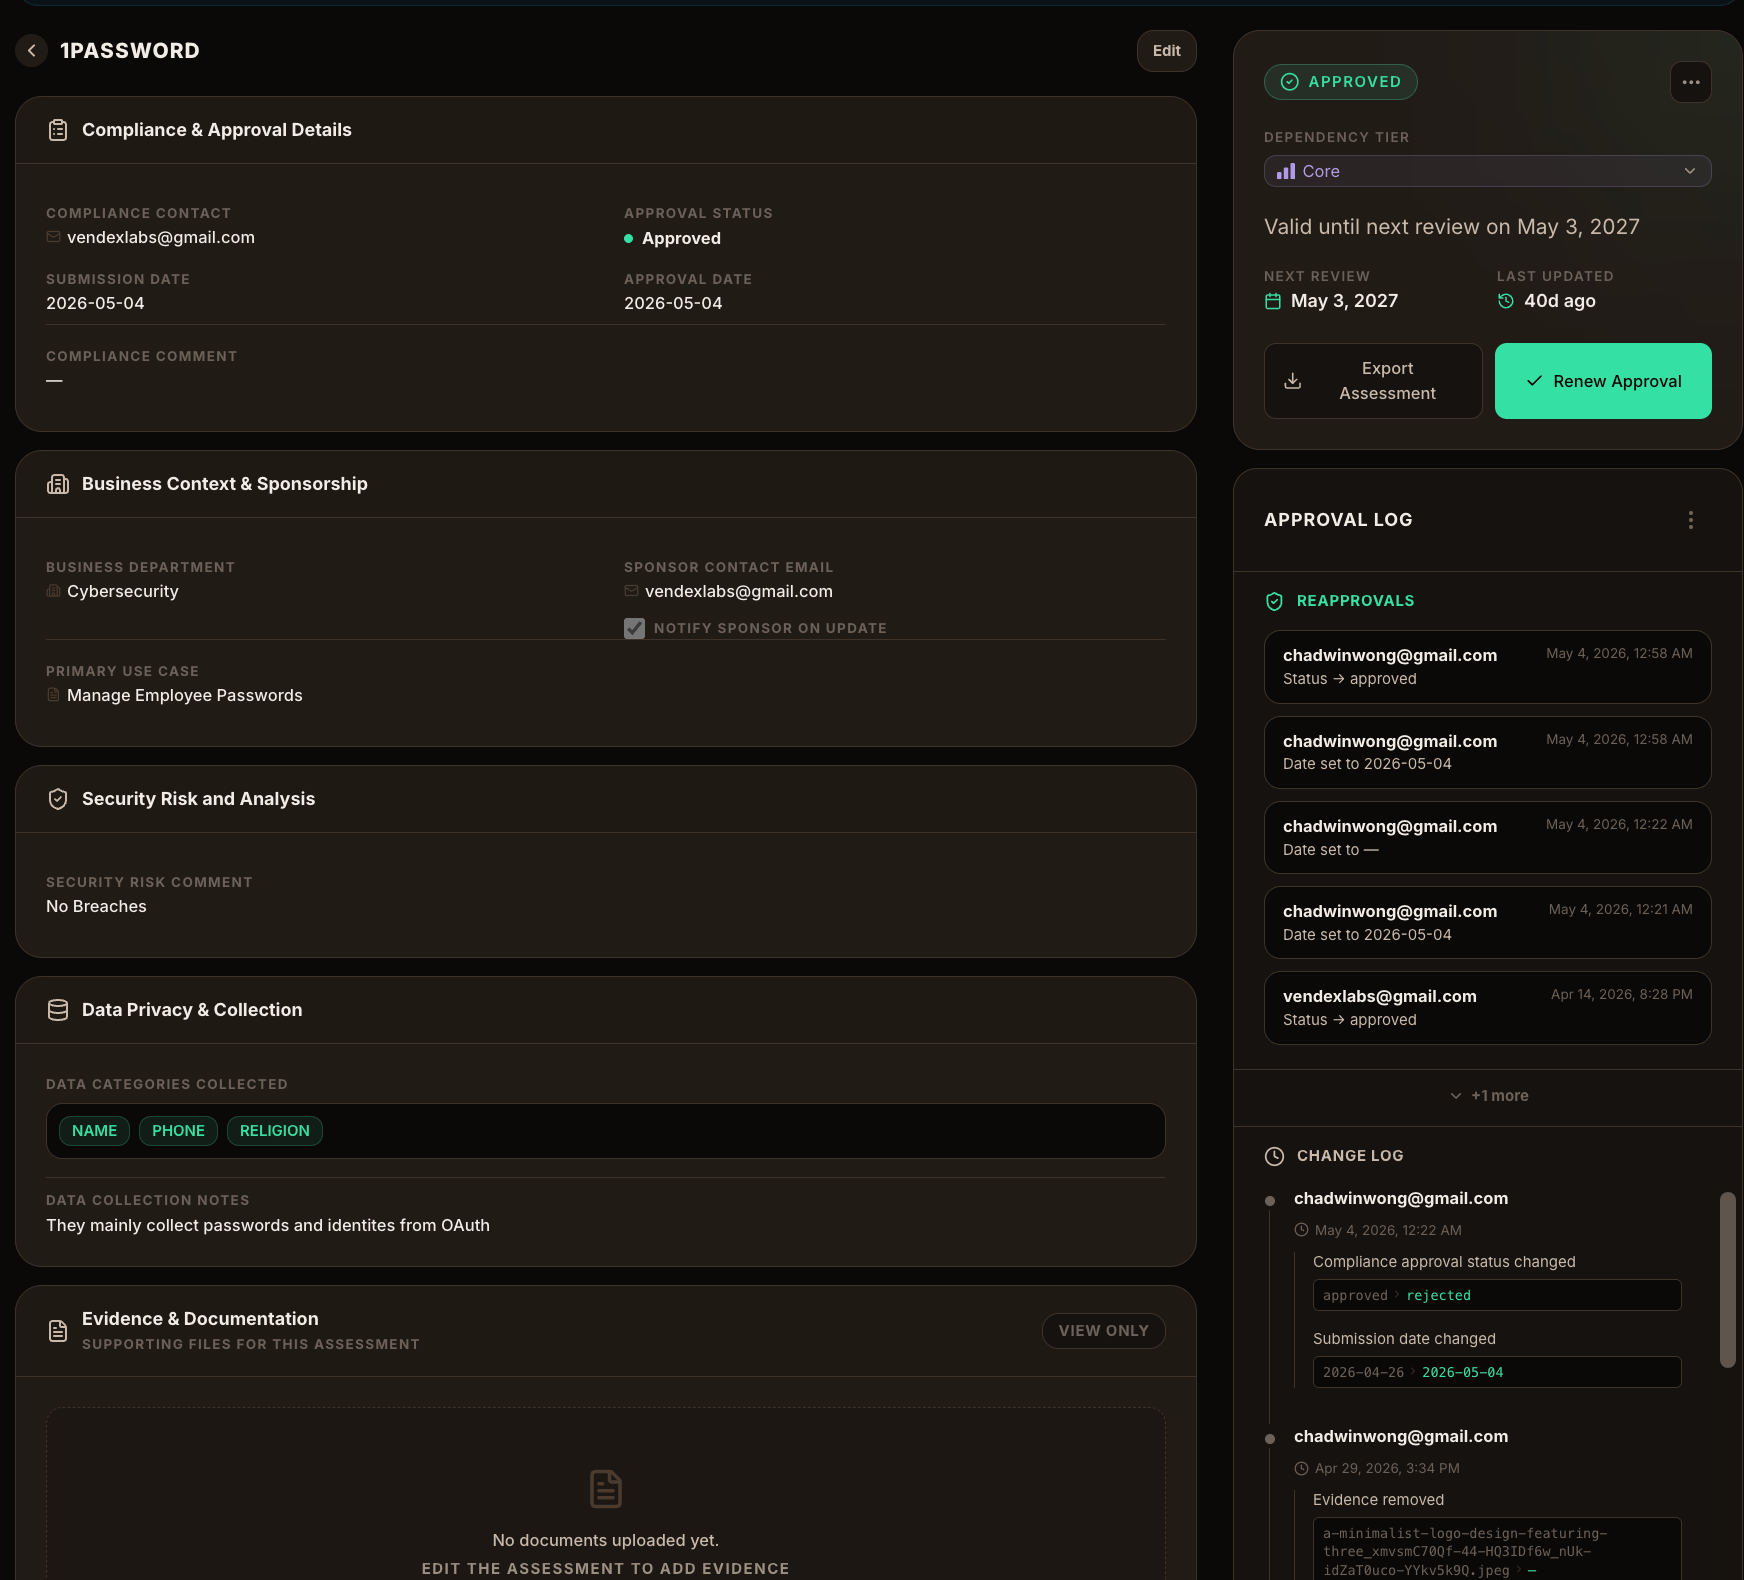
Approved, Conditional Approval, or Rejected.
Next steps
How VendexLabs works
Understand the model behind the product.
Import vendors by CSV
Bring your existing vendor list in one step.
Risk scoring explained
The five domains, integration depth, and floor rules.
Build on the API
Automate vendor and assessment workflows.